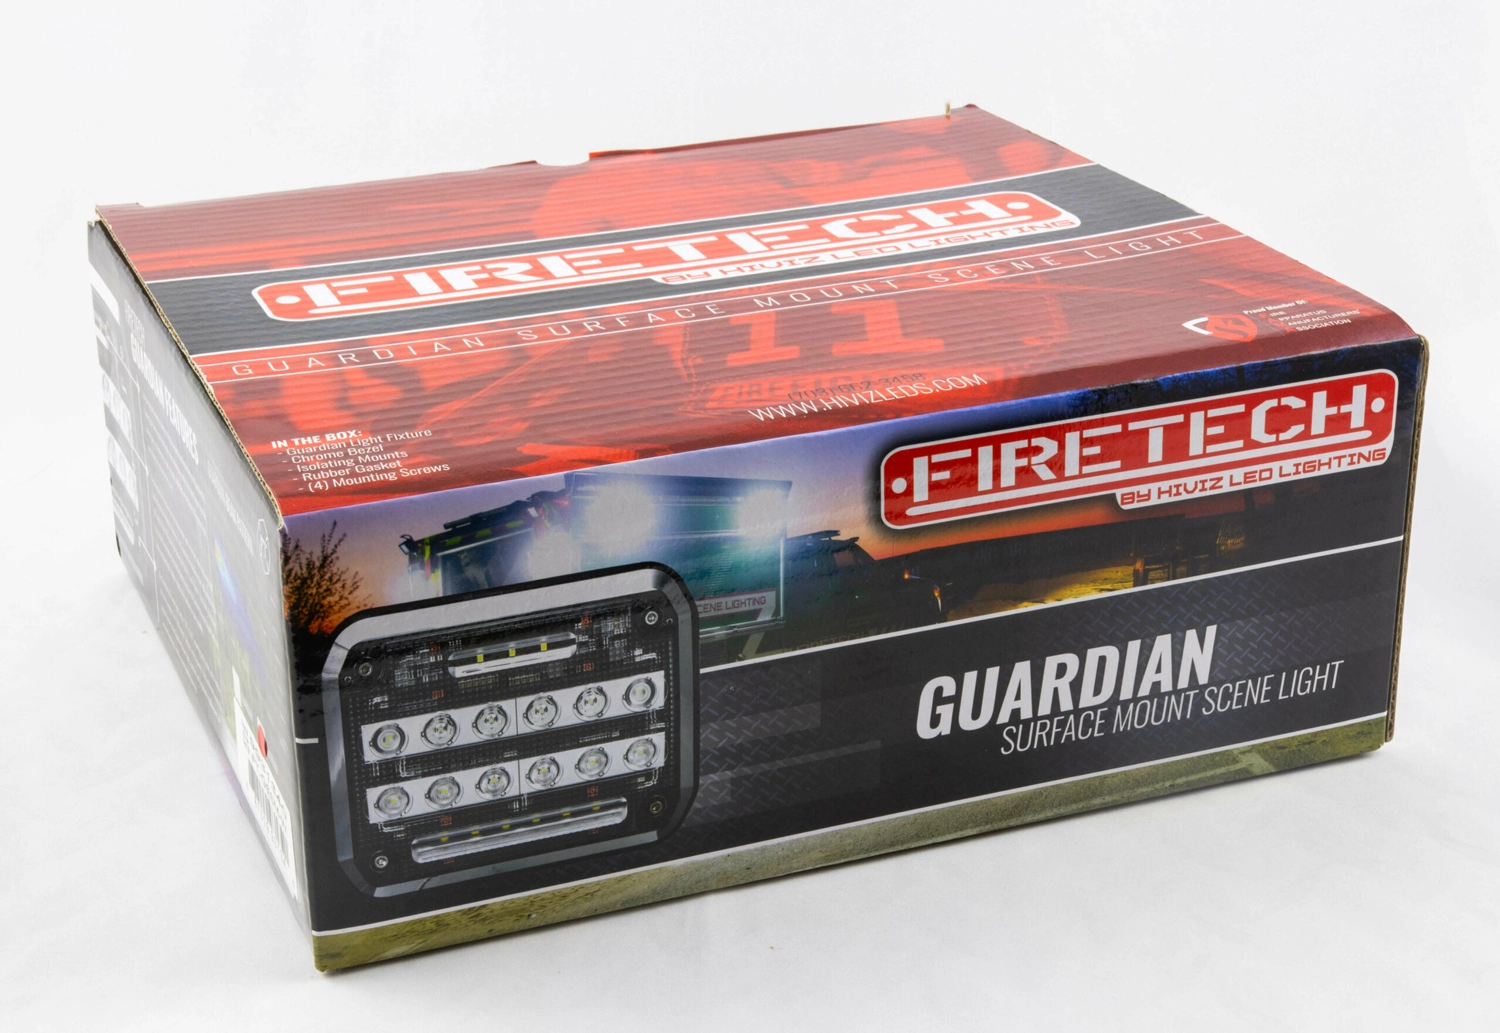
All right. What’s up? It’s the HiViz LEDs FireTech team. I have in front of me the new FireTech Guardian and this thing is pretty exciting.
Today we’re going to do an unboxing of one of our newest emergency scene lights to hit the market.
New FireTech LED Emergency Scene Lights are Now on the Market!
This is the newest, latest, and greatest in forward facing LED emergency scene lighting. By forward facing, I mean anywhere forward of the panel, so it could be to the side, to the rear, to the front, but it’s not a blinking light.
So what we’re going to do is offer this product in two models.
Guardian and Guardian Elite
It comes in the Guardian, which is the 75-watt or the Guardian Elite, 125-watt. They’re in a same package, which is kind of cool, but they have different circuit boards.
Comparing the 2 Models
If we look at this packaging, the FireTech Guardian and Guardian Elite, you’ll see that come in two different models.
This particular box has GESMs. They’re going to be the higher output version and then GESM is the lower output version equivalent to about 10,000 or 20,000 lumen fixtures in the fire market.
We’ve also got our measured light output which is actually tested in a Goniophotometer, more about that later.
Anyway in the box comes this standard gasket and we’ll get to that in just a minute, but if you’re putting this on a truck where you might have had this thing in service for a few years, this retrofit gasket is something that will cover the overhaul of any other fixtures of similar size.
The FireTech Guardian Light Fixture
So without further ado, let’s go ahead and get this box opened up.
This is the FireTech Guardian.
As we pull things out of the box, you’ll see right here. These are the two body isolating mounting panels. Pull them out. Down here. We’ve got a set of components. This is the mounting screws looks like. Yeah, mounting hardware. Here we go. Four mounting screws. And then let’s go ahead and pull this light fixture. Set this aside. All right, so here it is. Here is our mounting gasket. Get those two separates all the way. I really like how they put that in the box. Kudos to our team for that one. Keeps it totally suspended, so it’s hardly get damaged in shipping.
An Impressive Prototype
Wow! This thing is slick. This is the first time I have actually seen the final production run. I’ve been messing with quite a few other prototypes, get little things changed and tweaked. I know our team has been working diligently to get couple of things like the optics and the holders on that stuff finished to 100%.
This thing is — it is seriously a lot different than the original prototypes.
I’m really impressed with the light at first opening. The lens is crystal clear. This material is made by a company called Covestro and Covestro materials are little bit squishy, so that if you hit something, it won’t damage the optics that are behind it.
However, the optics do no squish, they will break. So we added this Covestro lens since it’s got a high melting temperature and it’s got a little bit of good squishiness to it.
Whatever the term, the Covestro housing will keep the optics safe from any damage. This thing looks really slick.
Mounting the Light Fixture
So on the back side of this fixture, we’ve got this mounting place. This actually goes through the body, the durometer is a little bit lower than the original prototypes that we’ve shown a few times in the past. That lets us push a little bit more in the place and keep more tension on the bodies. This is pretty cool.
This is mounting gasket the fixture goes into, and then from there, it goes into here. This is the actual gasket interface. Sure the lines up and then that thing can be installed on the body.
This is actually a lot different then I thought it should be. It’s hard to do on the table because — cool, see at the bottom right here, these are two drain holes, so that if any moisture or water gets behind the fixture between that and the body, they will drain right of it which is pretty cool.
Then the fixture itself actually goes right in there. And that thing can be installed right on the body of the fire truck. This is cool.
Electrical Components
So now we’ve got the light out of the package.
Actually look at the fixture, what you can see is we’ve got this crystal clear Covestro lens, the light circuit at the top. These two pieces are designed to give you light output from the fire truck that illuminates mailboxes and that sort of thing. These bottom two circuits are articulated down, so that’s lighting the area kind of midway in the fire scene. Then this bottom section right here, that’s lighting downside of the body and near the fire trucks that we have a light in the whole area near the outer ridge of the apparatus.
So this thing here is the FireTech Guardian fixture. The Guardian Elite has a little bit larger circuit board, but not a larger fixture.
If you actually look here at the bottom, you can see that those chips don’t have a primary optic on them, which is like a little silicon dome. And when you’re looking at these chips here, and if you compare them to the Guardian Elite, you will see that primary optic and then the upper chips are actually larger on the Guardian Elite as well.
On the center row chips, this is the same.
If we do change the optics depending on where the design, so this guardian fixture is specifically just posted on back of the ambulance body or on the side loading doors, we recommend that in areas. We’re looking to reduce the glare for the visibility and then, for other areas we’re just looking for total scene lighting coverage. The Guardian Elite fixture, with a bigger bottom and top row chips, gives you a little more light output, which just flood the area.
Test the FireTech Guardian Light Fixture on Your Emergency Vehicle
Anyway, this is the FireTech Guardian fixture. We’re super exited about releasing this to the marketplace.
If you want to get a copy yourself, we’ve got demo programs to try them out. We’re recommending doing six on an ambulance for 30 days. You can do Guardian or the Guardian Elites. The Guardians typically plug right in. They are 75 watts, so they don’t require much change to the electrical system. But the Guardian Elite is 125 watts, so the worst case scenario is a need to upsize your wiring.
So anyway check this out online at guardianscenelight.com, that’s just a sub-domain of hivizleds.com. Then go to products and click on Guardian!
If you prefer, we can be reached by online contact form or call 703-662-3458.
Have a good day. See you.


